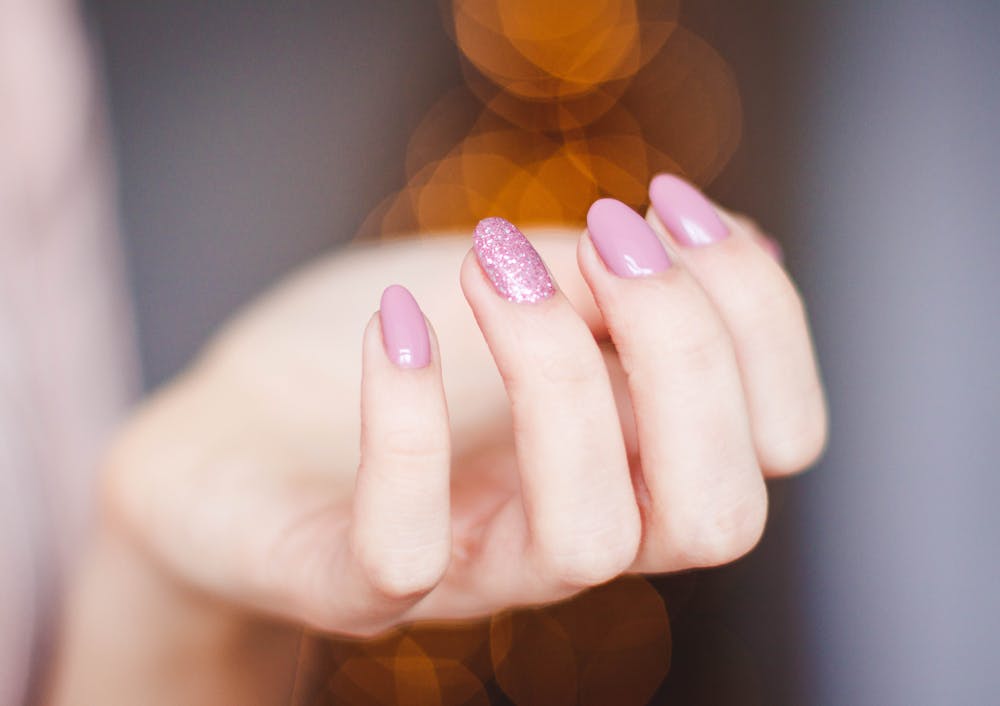
There’s something so satisfying about a flawless manicure, but frequent trips to the salon can be expensive and time-consuming. The good news? You can achieve salon-quality dip nails right at home! With the right tools, some helpful dip nails with tips, and a little practice, you’ll have long-lasting, professional-looking nails without breaking the bank. This guide will walk you through everything you need to know, from what dip nails are to how to perfect your technique, giving you the confidence to try it yourself.
What Are Dip Nails and Why Are They Popular?
Professional salon customers receive durable dip manicures created with colored decorative powder applied to their nails. Dip nails are simpler to perform than gel nails and acrylics because they do not require a UV lamp or a powder mix.
Here’s how it works: First, apply a base coat, then dip your nails in fine-colored powder before finishing with a clear sealant. This method of manicuring takes less time than competing methods and provides extended durability, which lasts three weeks without destructive effects. At-home nail enthusiasts love the dip nail process because it damages natural fingers and toenails less than alternative methods.
The Tools You Need for Perfect Dip Nails
Getting salon-like dip powder results requires several essential accessories. Most of these items are easily available and budget-friendly:
- Nail Prep Tools: Perfect dip nails include a nail file, buffer, cuticle pusher, and nail clippers.
- Base Coat: The powder requires a unique adhesive that serves this role.
- Colored Dip Powder: Picking your ideal nail colors allows you to express your fashion persona.
- Activator: The activator transforms the powder so it develops a strong and long-lasting finish.
- Top Coat: A topcoat applies shine while it protects your manicure.
- Lint-Free Wipes: For cleaning and smooth application.
- Small Brush: Removing excessive powder requires this tool between different nail powder layers.
- Cuticle Oil: For post-manicure hydration and care.
Storing these tools before the application process begins will produce professional and seamless results.
Step-by-Step Guide to DIY Dip Nails
Follow these simple steps to achieve a flawless at-home manicure:
- Prep Your Nails:
- Remove any old polish and wash your hands.
- Gently push back cuticles and trim any excess.
- File and shape your nails to your desired length and style.
- Buff the surface lightly to remove shine and ensure the powder adheres well.
- Apply the Base Coat:
- Apply a thin layer of base coat to one nail, avoiding the cuticles and skin.
- Dip Into the Powder:
- While the base coat is still wet, dip your nail into the colored powder at a 45-degree angle.
- Tap off the excess powder gently and repeat for each nail.
- Repeat for a Second Layer:
- Apply another thin layer of base coat and dip again to build an even, vibrant color.
- Apply the Activator:
- Brush on the activator to harden the powder. Let it dry for a minute or two.
- Shape and Buff:
- Once the activator is dry, file and buff the nails to your desired smoothness.
- Seal with Top Coat:
- Apply a thin layer of top coat for a glossy, professional finish.
- Allow it to dry completely before touching anything.
- Hydrate Your Cuticles:
- Finish with cuticle oil to keep your nails and skin healthy.
Pro Tips for Long-Lasting and Flawless Results
- Keep Layers Thin: A thick base coat or powder layers can result in uneven nails. For the best results, work in thin, even layers.
- Avoid Skin Contact: Ensure the base coat and powder don’t touch your skin to prevent lifting.
- Brush Off Excess Powder: Use a small brush between layers to remove loose powder and avoid lumps.
- File Strategically: Don’t over-file the surface, as this can weaken the manicure. Instead, focus on shaping the edges.
- Reapply Top Coat Midway: Reapply the top coat halfway through the wear period for extra shine.
Avoid These Common Mistakes for a Professional Finish
- Skipping Nail Prep: Failing to clean and buff your nails can lead to uneven application or peeling.
- Rushing Through Steps: Allow each layer to dry fully before moving to the next. Patience is key!
- Over-Buffing: Buffing too hard can thin your nails and cause damage over time.
- Not Sealing the Edges: Always apply base and top coats to the nail edges to prevent chipping.
Why You’ll Love Doing Your Dip Nails
DIY dip nails are not only cost-effective but also incredibly satisfying. You’ll save money compared to salon visits, and the convenience of doing your nails at home can’t be beaten. Plus, you have complete creative control—choose from various colors, experiment with designs, and customize your look to suit your style.
With the right tools and practice, achieving flawless dip nails at home is easier. Whether you’re looking to save money or enjoy the creative process, at-home nail care is a fun and rewarding way to elevate your beauty routine.


